-
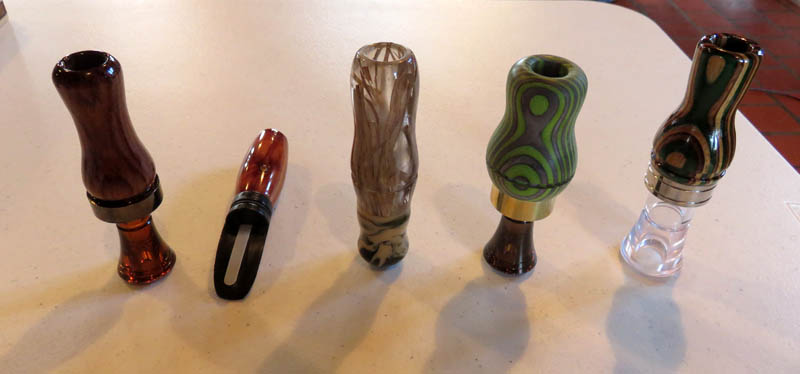
Chuck barrel blank up on mandrel and
tighten with plyers until the barrel no longer spins on the mandrel.
-
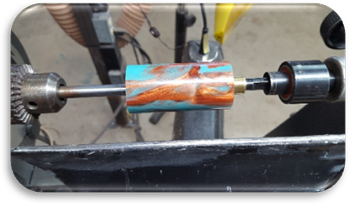
Turn the barrel to your desired shape.
-
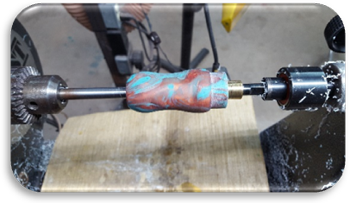
(Optional)
Measure the inside of the brass ring with a pair of calipers and turn
one end of the barrel blank down to match that diameter till the ring
fits snugly around it.
-
When you’re finished turning the shape
of the barrel start by sanding the piece with 120 grit sand paper
(waterproof is preferred) while dipping the sand paper into a glass of
water so that the acrylic doesn’t get too hot; sand the piece at a
medium rpm setting.
-
After using each sand paper be sure to
wipe the residue of with a towel so it doesn’t scratch the piece.
-
Work your way up from 120 grit to 2000
grit sand paper while continuing to wet the sand paper and wiping the
piece.
-
Next use the micro-mesh sanding pads
while wetting them and wiping the piece after each use just like in
steps 4-6 except this time turn the speed to a high rpm setting.
-
Once you’ve gone through all the
micro-mesh sanding pads then apply a dime sized portion of a plastic
polish to a small rag and wipe it on the piece while it is turning at
a high rpm until you are pleased with the gloss.
-
Take the barrel off the mandrel and
glue the brass ring onto the end of the barrel using CA glue and let
it set until dry.
-
Chuck up the duck call insert into the 4-jaw chuck with the small jaws
with at least a ½” space in between the chuck and the start of
the insert.
-
Measure the length you need to drill the hole in the insert by
measuring the length of the hole of the normal insert inside the jig
starting from the end of the jig to the end of the drilled space of
the insert then add the length of the wider part of the insert that
you are turning to it.
-
Drill the calculated length with a 15/64” drill bit.
-
(Optional)
You can use a wider drill bit to make the end of the insert bigger to
allow more air to pass through which makes a clearer sound and is
easier to blow just don’t drill past ½” of the end of the insert.
-
Turn the outside of the insert to your desired shape.
-
Repeat the sanding process you used to sand the barrel (steps 4-7).
-
Apply the plastic polish to the insert just like you did with the
barrel until you are pleased with the gloss.
-
Place the insert into the jig and cut the shape out using a band saw.
-
Sand
the insert down using different grits until the insert cut from the
jig is as smooth as you can make it.
-
Take
the insert out of the jig and place the cork and mylar strip into the
insert.
-
Place
the insert into the barrel and blow through it; if it doesn’t sound
right, take the insert out and carefully cut off a small piece of
mylar and place it back in the call and see how it sounds; if it still
doesn’t sound right take the insert back out and repeat the process.